Overview
This tutorial describes how to setup Mobicip's powerful Chromebook parental controls. Watch the video tutorial below or follow the steps in this article to set up parental controls on Chromebook.
Note: If you are a Business or School, skip to this article instead - How to Setup a Web Filter on Managed Chromebooks.
Before you Begin
1. Mobicip is installed as an extension on the Chrome browser on Chromebooks due to Google's Chromebook design.
2. Ensure that your child does not install any browser other than Chrome as Mobicip extension may not work on other browser apps. This can be achieved by blocking Google Play Store on your Chromebook .
3. If your Chromebook is managed by your child's school, then Mobicip extension will not work unless your child's school allows third party extensions in their G Suite account. In such cases, please add a new account for your child and add Mobicip extension to this login.
4. Mobicip won't work on a Guest account on Chromebooks - since Mobicip is installed as an extension, it has to be associated with a Google/Gmail account. Guest accounts are not associated with a Google/Gmail account.
5. If Google Family Link is enabled on your Chromebook, Mobicip extension cannot be installed. This is because Family Link does not allow access to Chrome Web Store and Google Play Store.
6. Do not try to download the Mobicip app available on the Google Play store as it is meant for Android mobile devices and not Chromebooks.
7. Mobicip does not support App blocking or Monitoring and filters content accessed on the Chrome browser. This is due to the way Chromebooks are designed by Google.
Chromebook Setup
1. The very first account used to login on a Chromebook is designated as the 'Owner' account, which has special privileges. You may want to login using your own Google/Gmail account the first time on a new Chromebook to ensure that you retain the 'Owner' privileges.
2. To prevent workarounds, there are a couple of things you need to setup while logged in as the 'Owner'.
- Open chrome://settings. Under People, enable Screen Lock option.


- Click on 'Manage other users' and disable guest mode, and add the Google account(s) that you wish to allow on this Chromebook, for instance, your son/daughter's Gmail account.

3. Logout of the 'Owner' account.
Chromebook Parental Control Setup
Login using the Google account that is to be monitored on the Chromebook, for example, your son/daughter's gmail account.
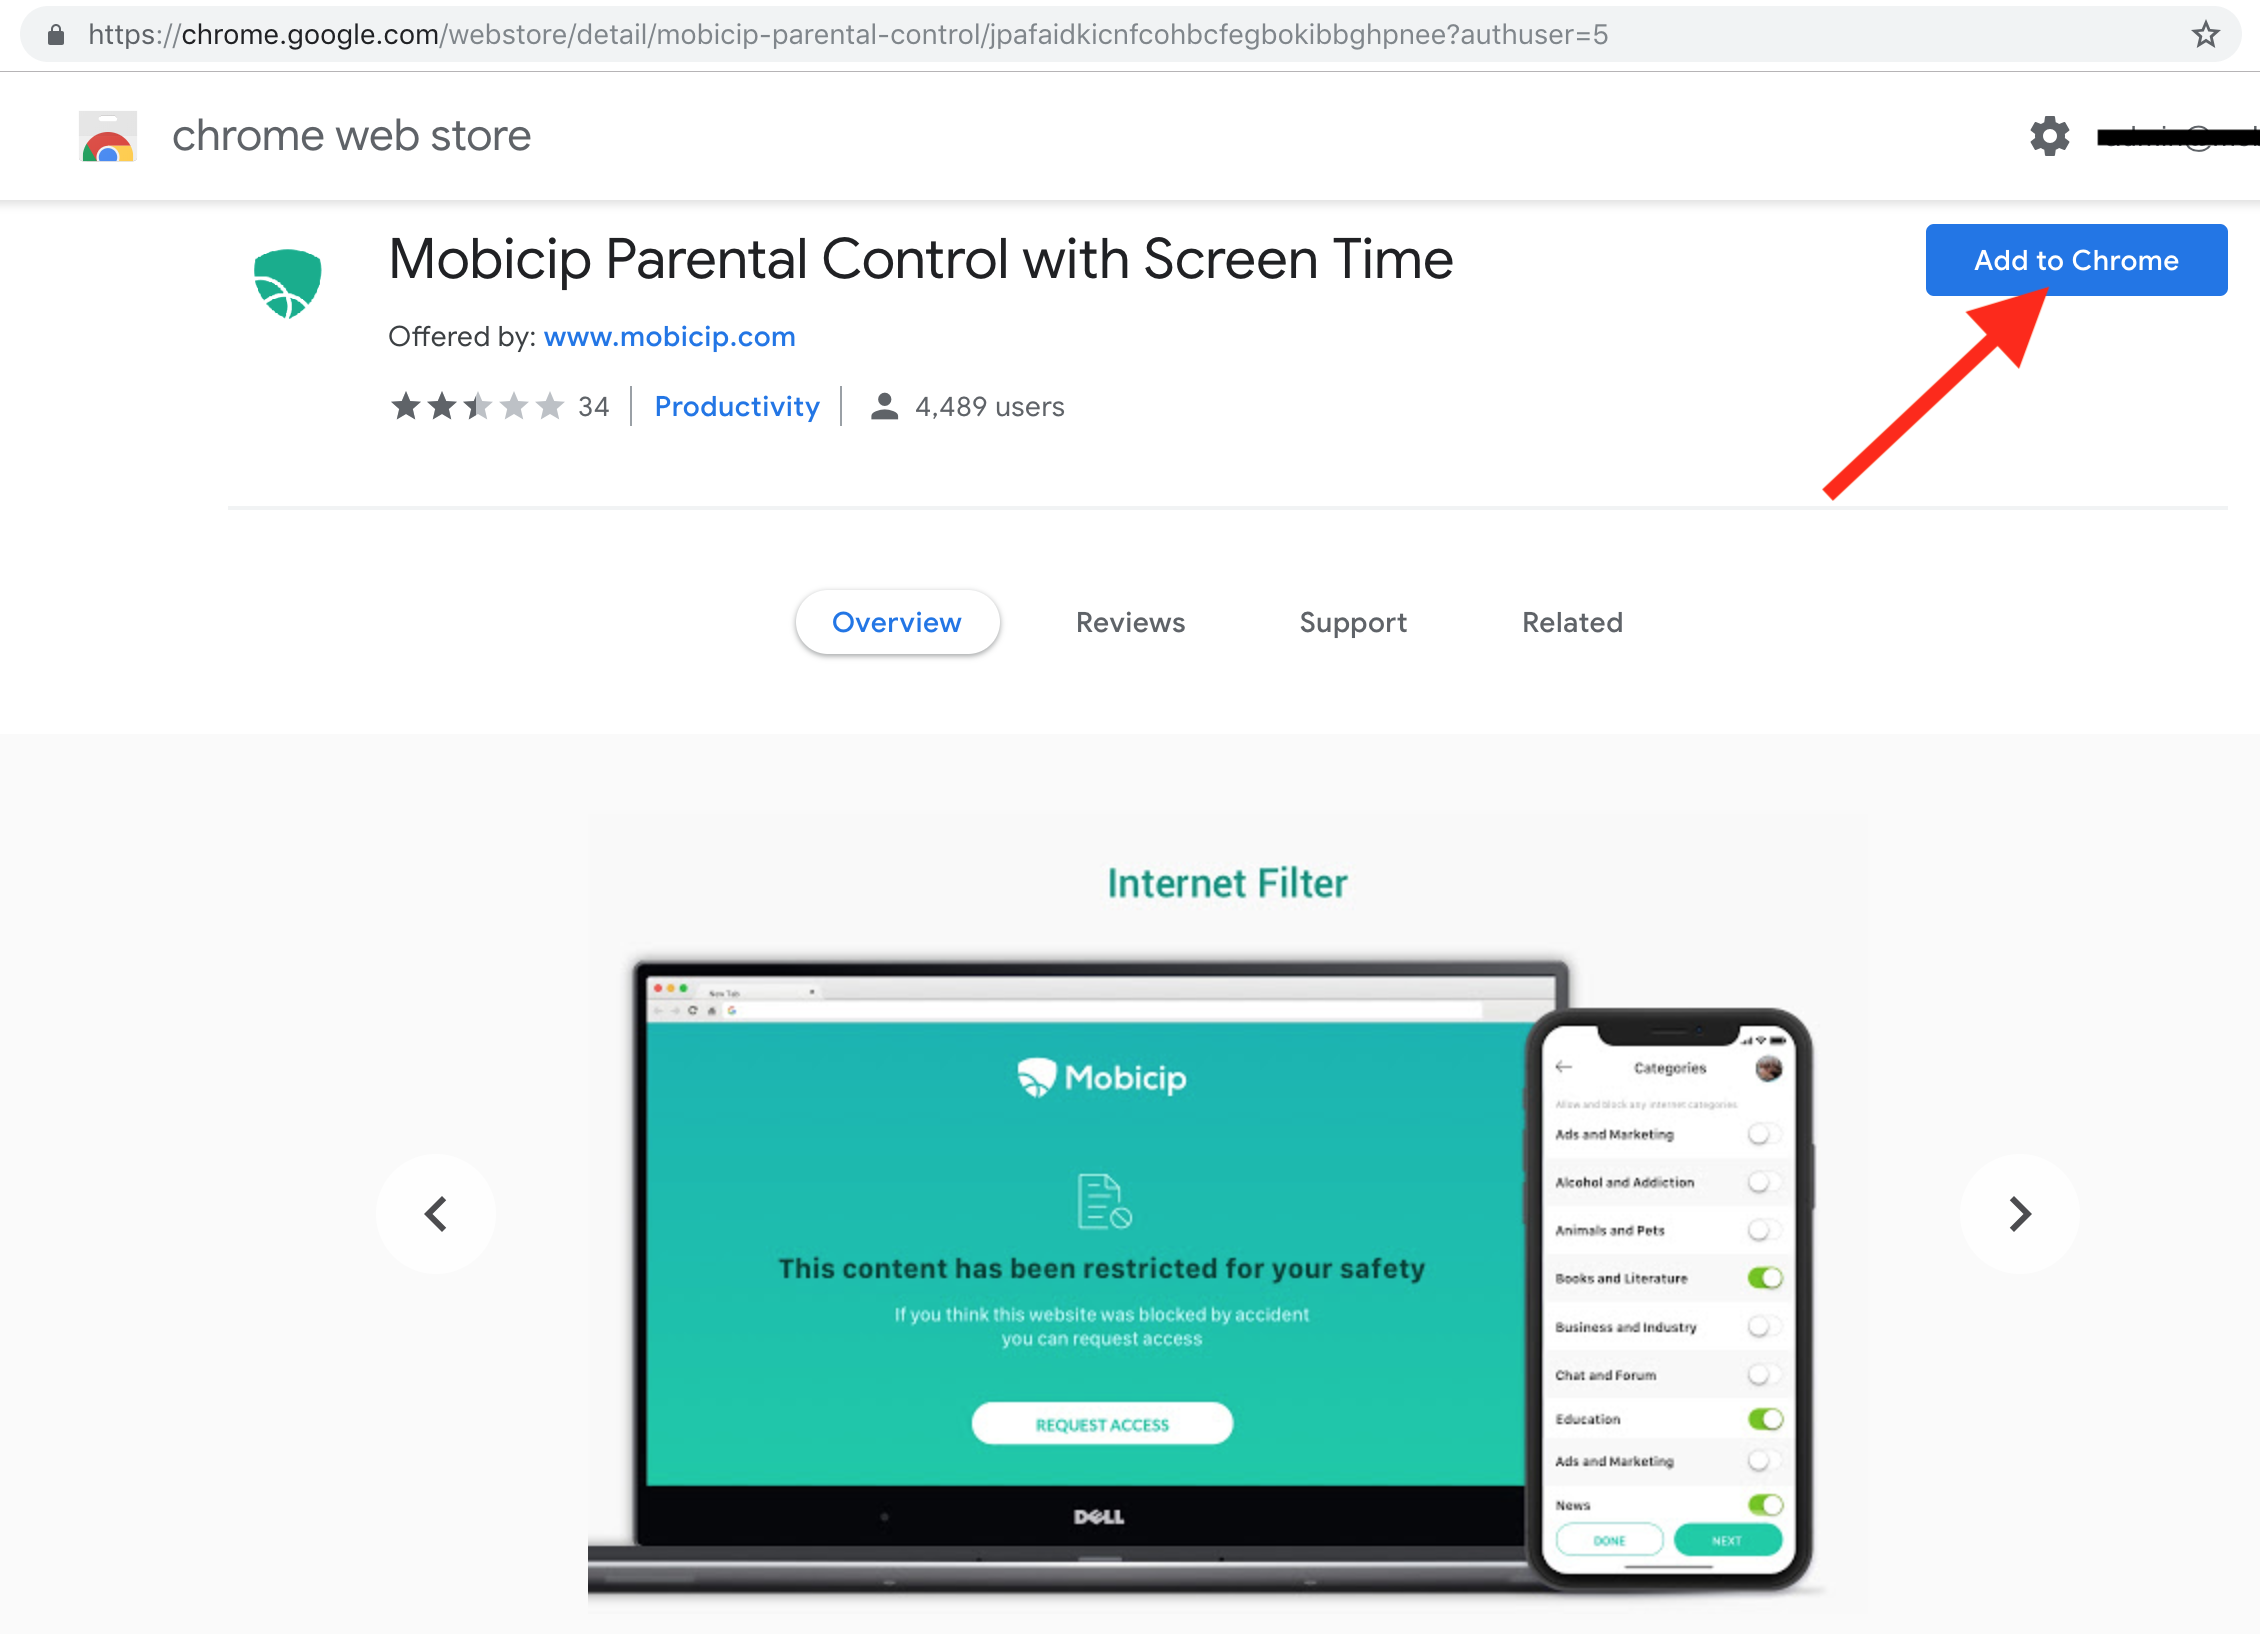
1. Download Mobicip from the Chrome Web Store.
NOTE: Do not try to download the Mobicip app available in Google Play store as it is meant for Android mobile devices and not Chromebooks.

Accept the prompts to install the extension.


2. A new tab will open and bring up the login page. Enter your Mobicip username and password, then select the Child associated with this Gmail account.


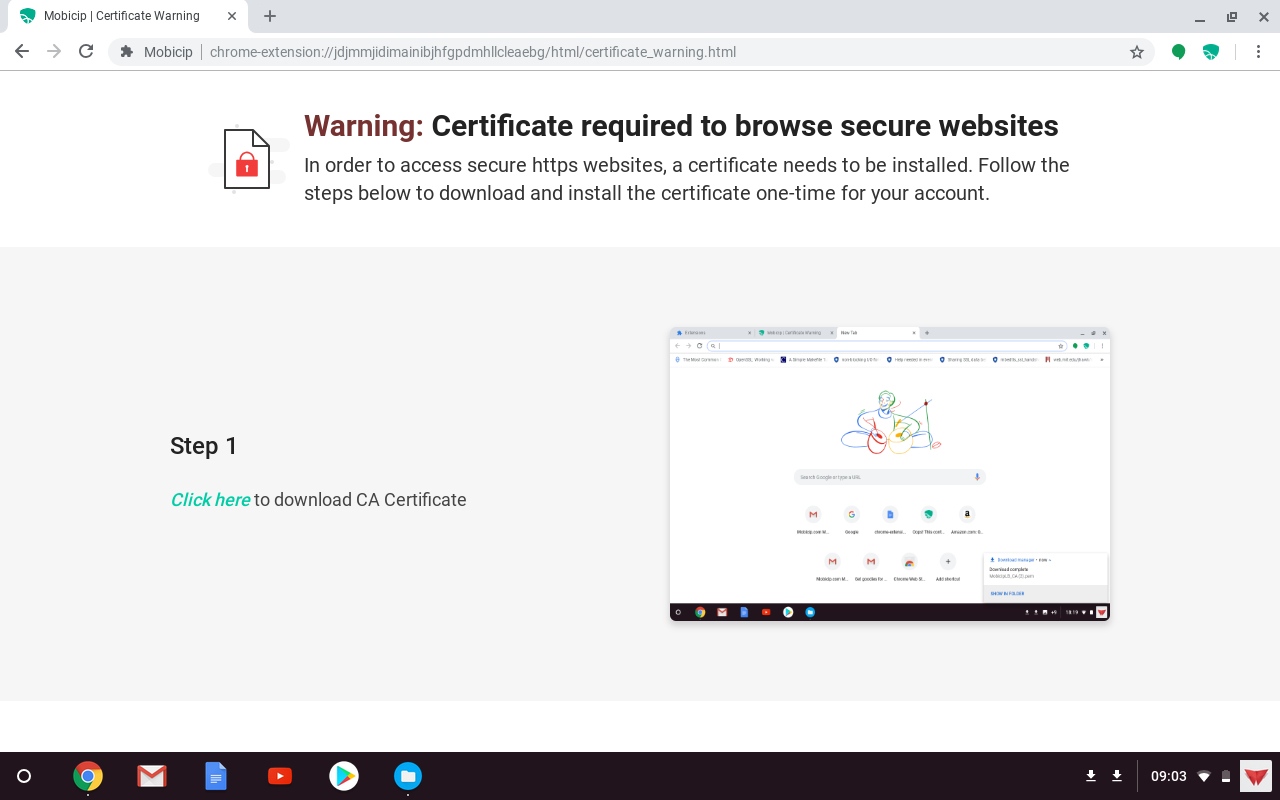
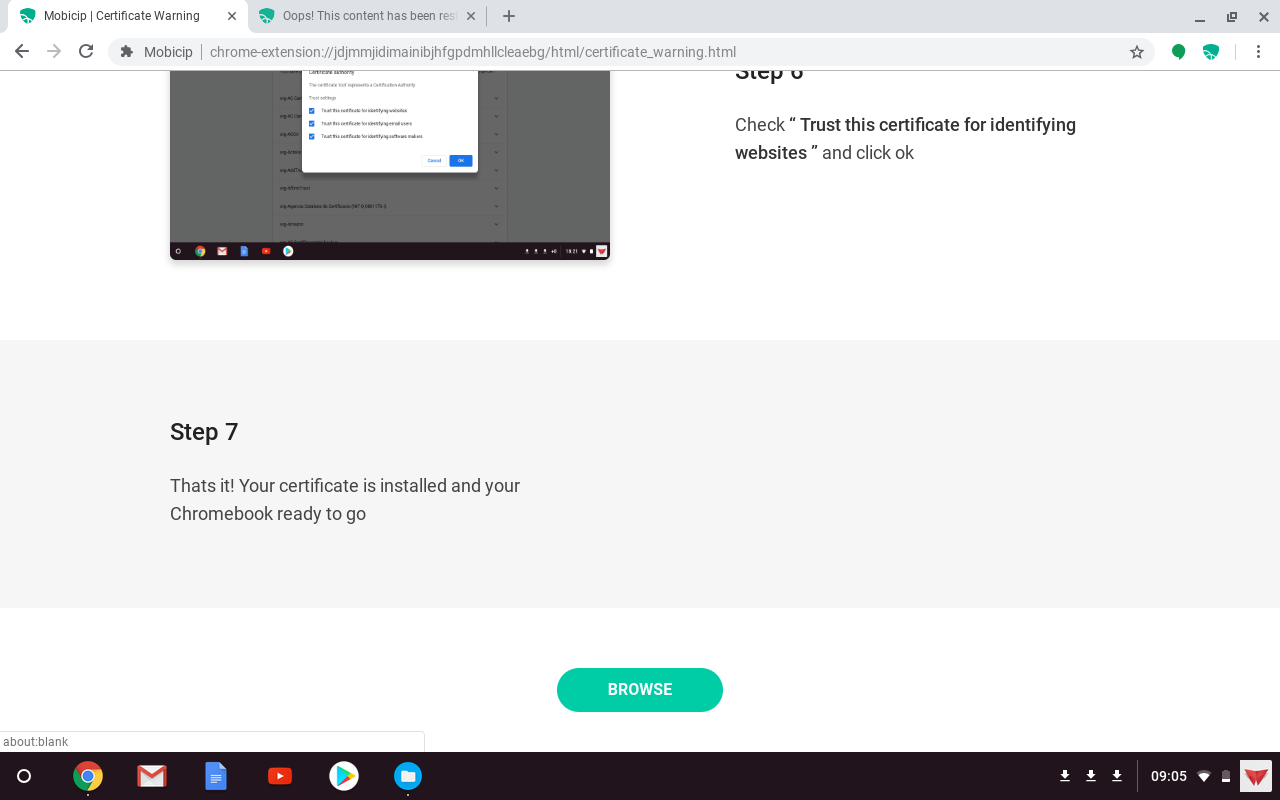
3. When you attempt to browse, you will see a page with instructions to install a certificate. Complete the steps on this page.


4. Go to chrome://extensions and choose the "Allow in Incognito" option. This enables Mobicip filtering in Incognito mode as well.
Also make sure that the option 'Block Extension page' is checked to prevent your child from removing Mobicip extension from Extensions page.
5. Logout of the account on the Chromebook and login again.
Enable Notification
Enable Mobicip to notify you when there is no activity reported on the Chromebook. Open the Mobicip Portal or App and select My Mobicip > My Profile from the menu and check if 'Device Inactivity Alert' is on.

That is it! You should be all set. The Chromebook is now protected by Mobicip. Login at mobicip.com from any browser or computer or use the Mobicip app in Parent Mode to manage your settings and monitor usage.
Note: Current version of Mobicip does not support app blocking or monitoring. We are working on this feature and will update once it becomes available.

